
Wednesday, September 29, 2010
RepRap: close to a full bed of parts...
Now that my quality is up and I have my spool working properly I wanted to try a full bed of parts. Here are 20 bar clamp parts needed for a Mendel. These parts took 7 hours to print.


Sunday, September 12, 2010
RepRap: Mendel calibration through gears...
The best way I've found to calibrate a RepRap printer is by printing gears. Any flaws show up immediately. Also, if one of your gears break after several prints some of your bad calibration prints could work enough to print a better gear. This weekend I was able to print all the Mendel gears, as well as all the Wade extruder gears. Pictures follow.


I am satisfied with the quality. Now I am ready to print a full bed of parts.


I am satisfied with the quality. Now I am ready to print a full bed of parts.
RepRap: Spool Extensions...
The spool I printed up a few days ago works, but has occasionally jammed as a result of the filament coming off of the ends of the spool. To fix the problem I designed some extension tabs in OpenSCad

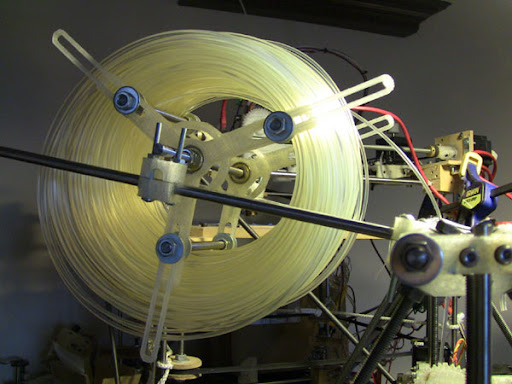
I think this will be a solid solution. Now I just need to upload it to Thingiverse so others can benefit from it as well.
Done. http://www.thingiverse.com/thing:4076


I think this will be a solid solution. Now I just need to upload it to Thingiverse so others can benefit from it as well.
Done. http://www.thingiverse.com/thing:4076
Thursday, September 9, 2010
RepRap: Walk Away Mendel...
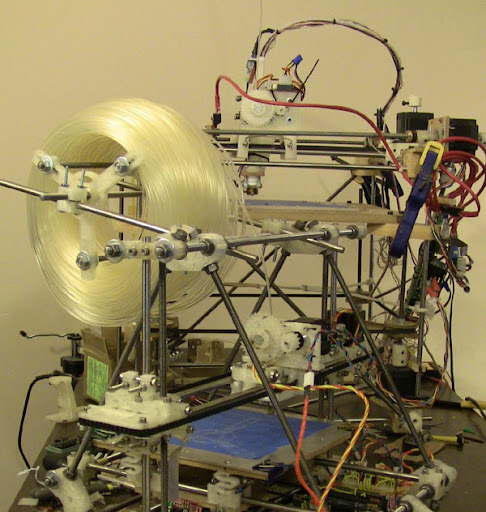
Now that my extruder is consistent I decided to focus on a filament spool for the Mendel. Thankfully, thingiverse users already designed a mendel spool, so I just had to print it.




Tuesday, September 7, 2010
RepRap: Tiny Open Violin...
A friend has been asking for me to print the open violin ever since the xkcd comic. I've been holding off for a better print than my Darwin is capable of. Now that my Mendel is working decently, and after getting some brown PLA in the mail from ultimachine for free with a large order, it was time to fill the request.
First, I printed the original violin, but I don't think my friend realized how small the original one was!
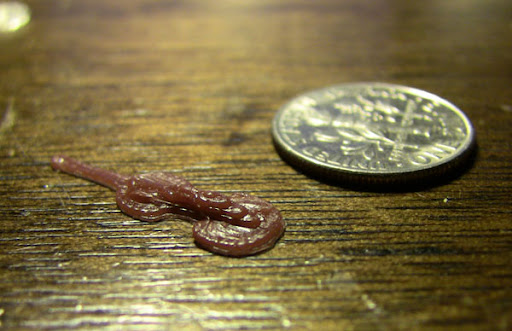
So I blew it up to a size you can't easily lose and printed again.
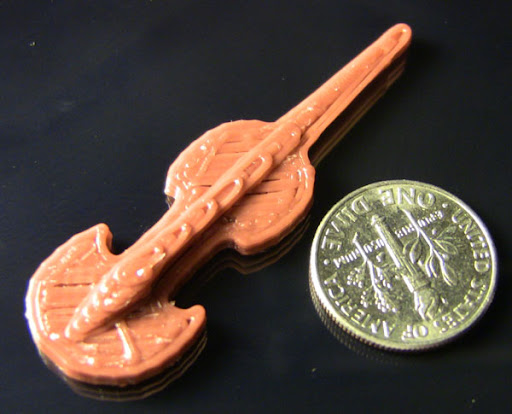
Opensource hardware is just fun!
First, I printed the original violin, but I don't think my friend realized how small the original one was!

So I blew it up to a size you can't easily lose and printed again.

Opensource hardware is just fun!
RepRap: RepRap host, or Skeinforge...
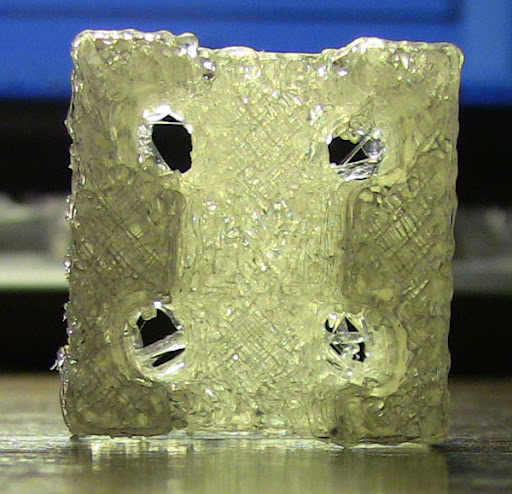
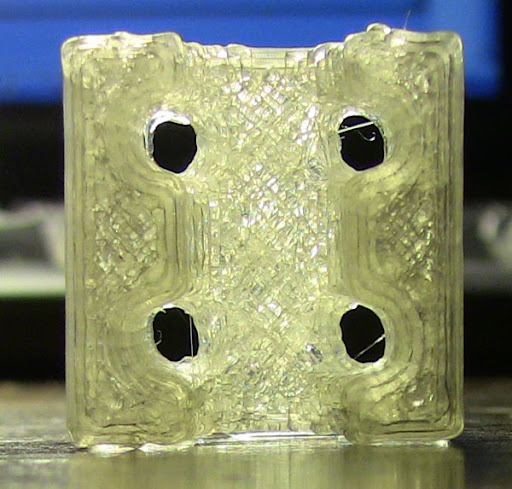
With my Darwin RepStrap printer I first attempted to use the RepRap host to generate my GCode before deciding to go with Skeinforge. With my new Mendel I took the same path. First, before pulling out Skeinforge, I spent a few days playing around with the RepRap host. First, I have to say that I was impressed with all of the improvements. The prints are quiet, and really pleasant to listen to. The default settings also use some interesting concepts, like homing the axes before each layer, and building up a wall to catch the first bit of filament before starting the next layer. It's also really easy to lay out multiple parts and position them before generating the GCode. You can even easily rotate parts, which is a very nice feature! However, the quality of the generated GCode is still not comparable to Skienforge.
Here are some pictures of a Mendel bar clamp, first printed using the RepRap host, and then using skeinforge.
Here are the parts side by side. The one on the right is using Skeinforge.
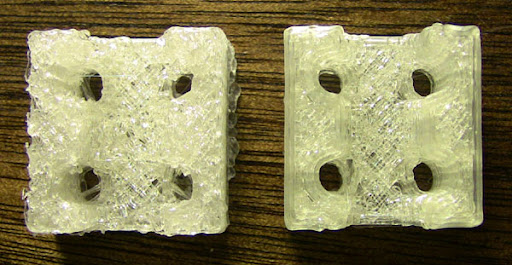
I still don't have my settings perfect, but Skeinforge is where I will be spending my time.
Here are some pictures of a Mendel bar clamp, first printed using the RepRap host, and then using skeinforge.


Here are the parts side by side. The one on the right is using Skeinforge.

I still don't have my settings perfect, but Skeinforge is where I will be spending my time.
Monday, September 6, 2010
RepRap: Mendel extruder, take 3...
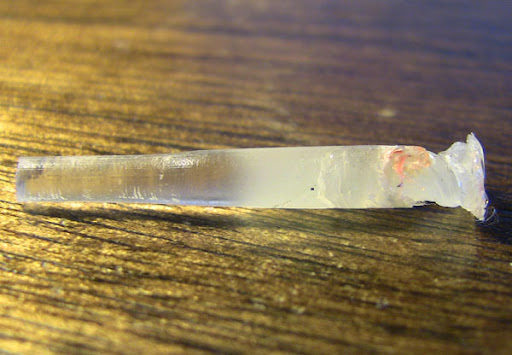
After my second extruder broke an idea came to me that I think is pretty original. I don't think I've seen an extruder designed like this before. I took some 1 inch diameter PTFE rod I ordered a while back and some aluminum square and made the following parts. If this design is able to hold together over time I will post it to the reprap wiki.


The benefit this design has over the last one I tried is that in order for the hot end to push out it would have to pull the two steel rods through the PTFE. I don't think this will happen. A benefit of this design over my first design is that the only part that comes into contact with the PLA drive mechanism is PTFE. Because of this I don't think it will melt out.
The first print worked beautifully, but then it failed because of the firmware! I had to completely disassemble the extruder to remove the clog due to the PID algorithm in the firmware allowing the hot end to spike over 300 degrees Celsius. It's suppose to keep it regulated at 190 Celsius.

Sunday, September 5, 2010
RepRap: Extruders are really hot...
I had some backup materials laying around from my original darwin extruder. To save me some time I decided to just use these, even though I knew the primary weakness.
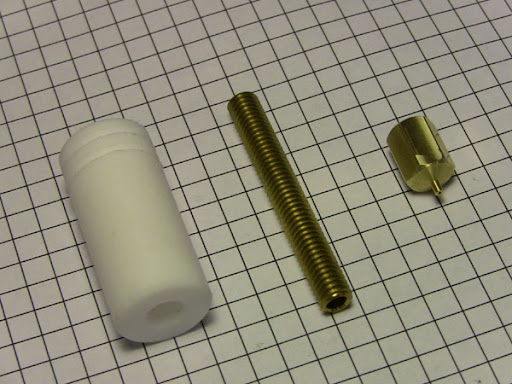
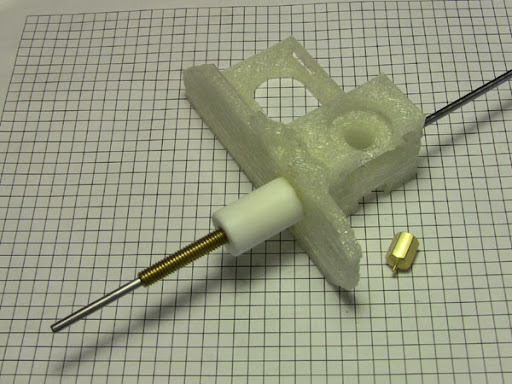


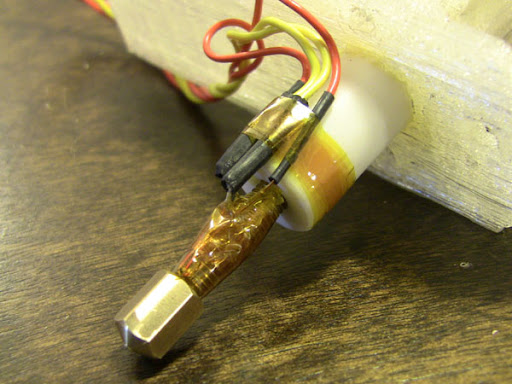
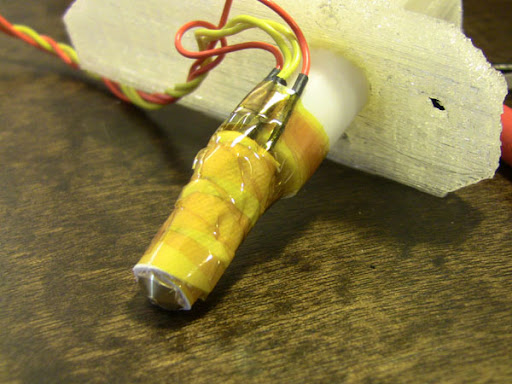


I am still learning that patience is a virtue.


I am still learning that patience is a virtue.
RepRap: Extruders are hot...
I finally released my video on the making of my Mendel a few weeks ago. It's very exciting to finally be done. It's not very exciting to have my extruder break only days after getting it working. The extruder I went with was a variation on Ardian's hot tip.


Subscribe to:
Posts (Atom)


